Windows 环境, Hexo + GitHub 搭建个人博客。
目录:
1. 环境配置
2. 初步搭建
3. 更换主题
4. 部署到 GitHub
5. 发布新博客
6. 后续
7. 参考
1. 环境配置
安装 git
安装 nodejs
使用 npm 安装 Hexo
npm install -g hexo-cli
2. 初步搭建
Hexo 在初始化时会新建目录,所以需要先跳转到目标位置的父路径。下文中,约定blog 为站点根目录。1
2
3
4
5 cd /path/to/your/blog
cd ..
hexo i blog # i: init, blog: 目录名
hexo g # g: generate
hexo s # s: server
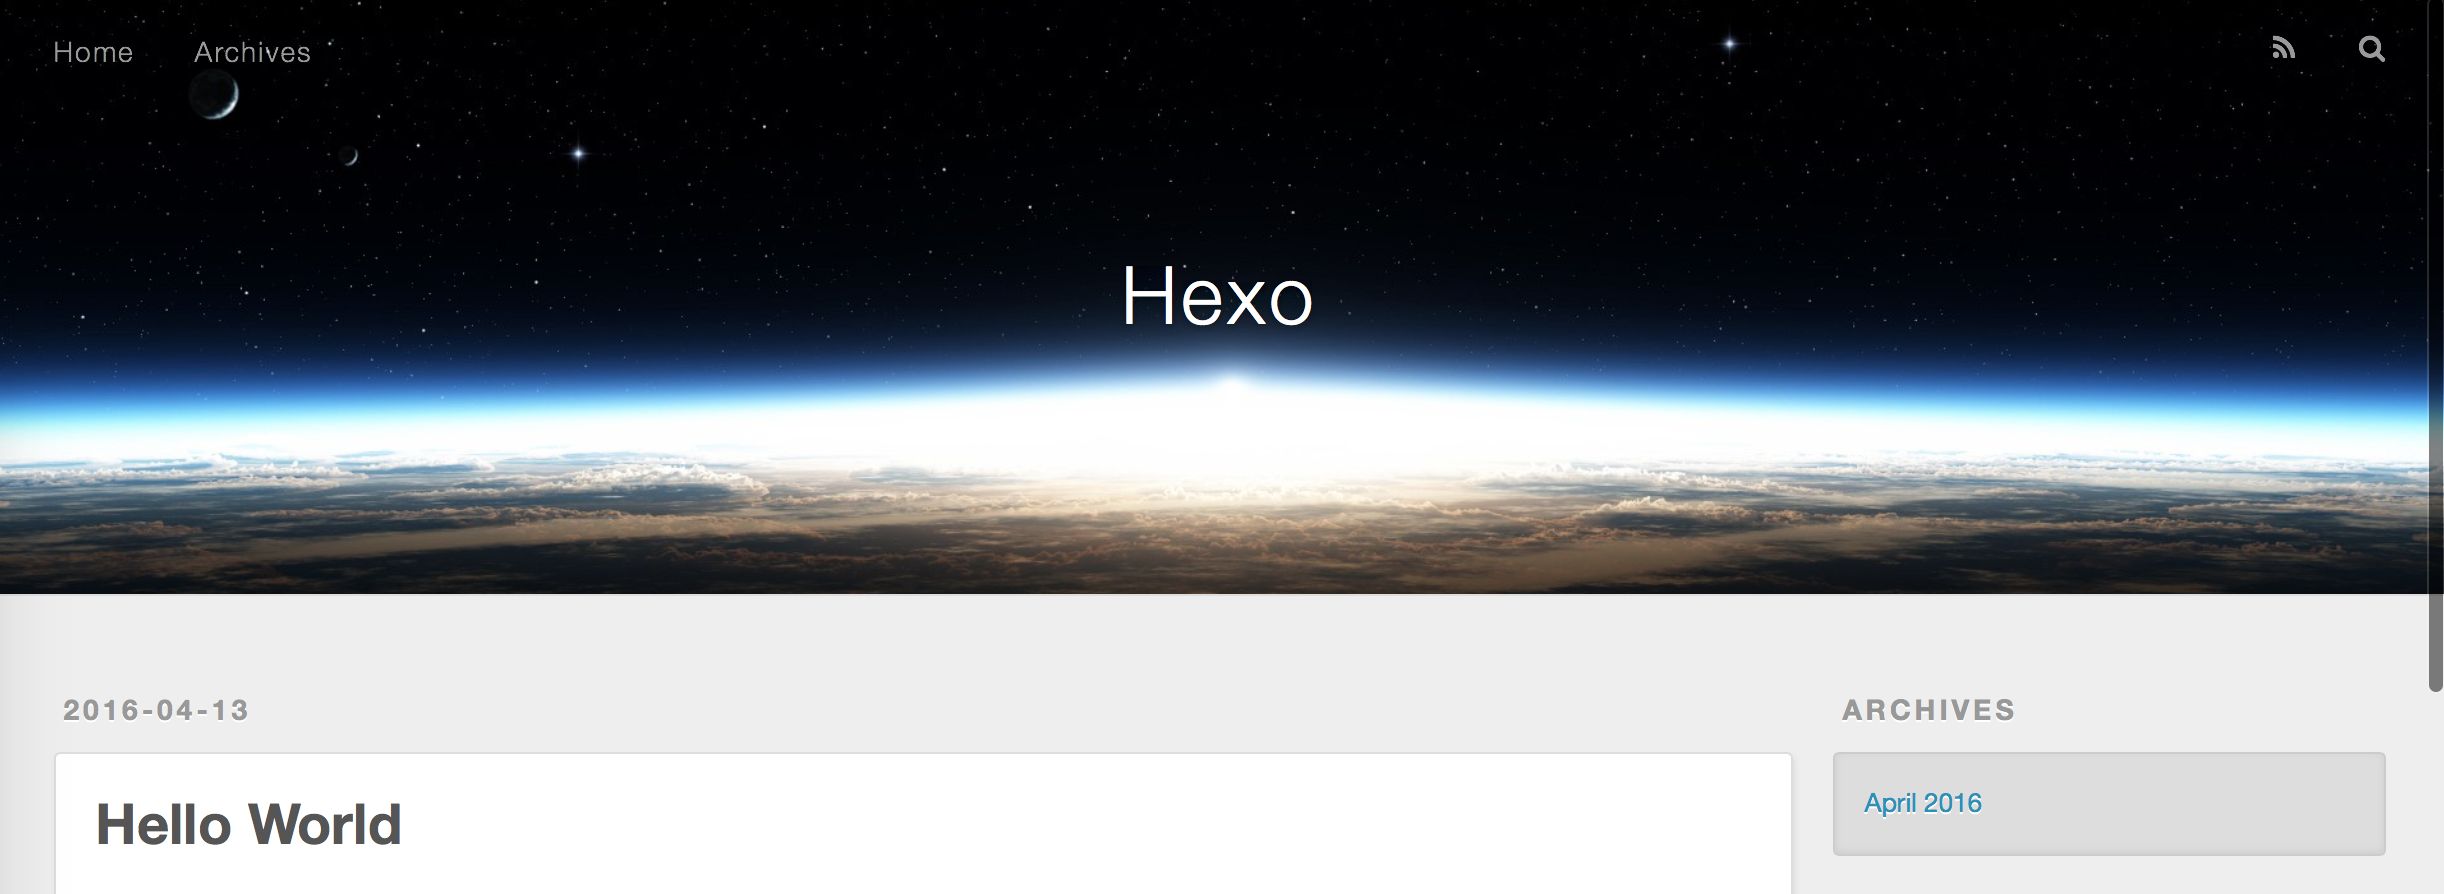
以上执行 init 命令时在站点根目录下生成了 hello-world 界面,访问 localhost:4000 查看:
如果以上界面可以打开,就说明已经搭建成功了。
以上界面是默认主题 landscape,如果觉得不满意可以访问 https://hexo.io/themes/ 选择更多心仪的博客主题。本博客的主题是 bootstrap-blog,可以访问 https://github.com/cgmartin/hexo-theme-bootstrap-blog 了解详情。
3. 更换主题
以更换为 bootstrap-blog 为例。
安装主题:
在站点根目录下输入:$ git clone https://github.com/cgmartin/hexo-theme-bootstrap-blog.git themes/bootstrap-blog
以上命令将
bootstrap-blog主题安装到了blog/themes目录下。站点配置:
打开blog/_config.yml文件, 找到theme字段,由landscape更改为bootstrap-blog(与themes下的实际目录名为准)。应用主题:
在站点根目录下输入以下命令:1
2
3hexo clean # 清除缓存
hexo g # 重新生成缓存和静态文件
hexo s # 启动本地服务器预览
4. 部署到 GitHub
新建项目:
在 GitHub 上新建项目,命名为{name}.github.io,以你的实际用户名替换{name}。修改站点配置:
找到deploy字段,修改为如下:1
2
3
4deploy:
type: git
repository: https://github.com/{name}/{name}.github.io.git
branch: master注意:
{name}修改为实际的用户名type与repository和branch的缩进一致- 冒号后要有空格
部署到 GitHub
在站点根目录下输入:1
2npm install hexo-deployer-git --save
hexo d # 部署现在可以访问你的网页查看效果。
5. 发布新博客
在站点根目录下输入:
1
hexo n "My first blog" # n: new
编辑
My-first-blog.md部署并预览:
1
2hexo g
hexo s可以在
localhost:4000查看效果如果要发布到 GitHub 上:
1
hexo d
注意:
- 不建议在
hexo g后立即输入hexo d,因为后者会直接在 GitHub 上 commit - 建议先
hexo s,在本地预览后再发布到 GitHub 上
- 不建议在